DIY Kitchen Drawer Dividers
“DIY Kitchen Drawer Dividers” was written by a paid contributor. All photos by Kate Hollingsworth.
For the last few months, I’ve been giving my kitchen a refresh. So far, I’ve refaced my cabinets, built a DIY spice drawer, and made a sleek paper towel holder. The next little project I planned was an upgrade to my cutlery drawer.
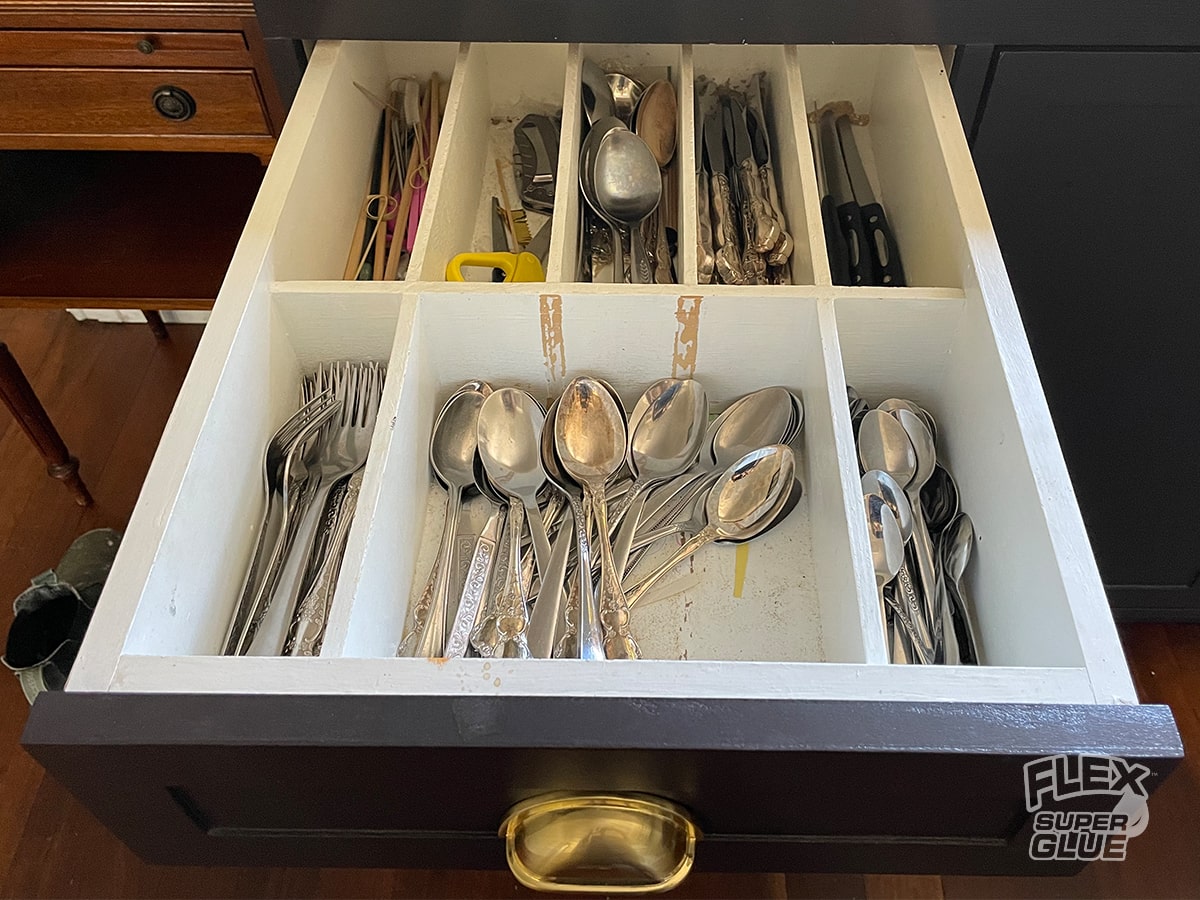
This drawer was in desperate need of some TLC! Aside from looking dingy, a couple of the dividers had broken off over time. These dividers were glued into the drawer itself, so cleaning the drawer out meant trying to get into all the little sections. Needless to say, I very rarely cleaned it (if you zoom in, you’ll see the debris along the bottom of the drawers).
It was definitely time to rip the old dividers out and make some better ones, so that’s what I did. My new and improved DIY kitchen drawer dividers were created with just a few pieces of timber, stain, and Flex Super Glue. Read on for step-by-step instructions on how to make your own!

● Flex Super Glue Gel 2-pack
● 2.4m x 65mm x 12mm timber (1 board)
● Stain (optional)
● Varnish
Note: Use caution when working with power tools and always follow the manufacturer’s instructions. Before using Flex Super Glue, please read all directions carefully. When using Flex Super Glue Gel, make sure to shake the gel down towards the applicator tip before applying.

Measure the width of the inside of your drawer minus a couple of millimeters, and cut two pieces of timber to this measurement. These will become the top and bottom of your DIY drawer organizer. Next, measure the length of your drawer minus a couple of millimeters, and then take off 2x the width of your timber. The resulting number is the length of your side pieces which sit inside the top and bottom pieces.

Put a few dots of Flex Super Glue Gel toward the end of the top piece and press it against the side piece. Hold firmly in place for 30 seconds. To keep everything at a 90-degree angle, I’m gluing my drawer dividers on my workbench using bench dogs. Another way to keep everything square is to glue the pieces inside the drawer itself (not to the drawer, just using the drawer as a 90-degree guide).

I chose different-sized divider sections to accommodate my long knives, so I measured and glued each piece as I went. If you want a simpler version, you could glue the box border together, then measure, cut, and glue a piece straight across the middle. Then, measure, cut, and glue all the remaining divider pieces (which should be the same measurement).
Each piece only needs a few small dots of Flex Super Glue Gel to create a strong bond. Hold each piece in place for 30 seconds, and don’t move the drawer divider until the glue has fully cured (I left mine overnight).


I stained my drawer dividers a dark walnut color and sealed them with a coat of varnish. I made sure to allow the varnish to dry completely before moving on to the next step.
Flexpert Tip: If you prefer the look of natural wood, skip the stain and just use the varnish.

Installation is easy and so rewarding! Since the drawer dividers are all glued together, simply lift it up as one unit and place it inside your drawer. Then fill each section up with cutlery.

I love how these drawer dividers turned out! I now have the classiest cutlery drawer in town. Plus, I can simply lift the divider out for easy cleaning. These DIY drawer dividers are a cheap and easy way to create custom oak inserts for your kitchen drawers. I hope you feel inspired to grab some Flex Super Glue and make your own!
By Kate Hollingsworth
Based in Perth, Australia, Kate is a self-taught interior specialist with over 20 years of DIY knowledge. She’s also a Content Creator on IG, where she shares tutorials, before and afters, and easy-to-follow stories empowering women to attempt home DIYs.