How to Make Waterproof DIY Coasters
This How to Make DIY Coasters blog was written by a paid contributor. All photos were taken by Kate Hollingsworth
There’s nothing better than an icy cold drink on a hot summer's day. However, my joy is short-lived when condensation runs down the glass and leaves a watermark on the tabletop!
Having coasters readily available is an easy way to protect surfaces from water damage caused by beverages. I love a good craft project, so I thought, why not make DIY coasters?
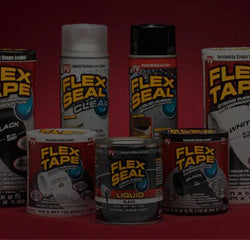
After thinking over some DIY coaster ideas I decided to make three different types - wood, rope, and tile coasters. Flex Seal Mini and Flex Glue Mini were the perfect-sized products to help me assemble and waterproof my coasters. This craft was a lot of fun and I’m so happy with the results! Ready to learn how to make DIY coasters of your own? Let’s get started!
1. DIY Wood Pallet Coasters

I had a feeling that mini pallet coasters would be irresistible to my kids, and I was right. They are the coasters they reach for first because they’re so cute. I was prepared for these particular coasters to be quite tricky to make, but they were actually easy to put together.

Materials
● 1 Flex Glue Mini, white
● 1 Flex Seal Mini, clear
● 52 popsicle sticks
● Scissors
● Wood stain (optional)
Steps
1. Cut Popsicle Sticks

Start by using scissors to snip the rounded ends off the sticks.
2. Stain the Sticks (Optional)

Once my popsicle sticks were all trimmed, I used a tiny amount of wood stain on an old paintbrush to stain them. The sticks readily absorbed the stain, so by the time I finished with the first side, they were ready to be flipped over and stained on the other side.
Staining is optional. You can leave the sticks as-is for a lighter, beachier look or even spray them with Flex Seal – totally up to you!
Flexpert Tip: Use a drop sheet or newspaper to protect your work surface from the stain.
3. Connect Sticks With Flex Glue

These popsicle stick coasters are simple to assemble. First, lay out five sticks and put a dab of Flex Glue Mini at the end of each one.
Flexpert Tip: Come in a little from the very end of the sticks to create a more realistic-looking pallet.
Next, lay one popsicle stick on its side on the line of glue dots.

Then, add a dab of Flex Glue to the middle of each stick.

Flexpert Tip: Hold the first cross-stick down firmly while adding the glue to keep the other sticks from shifting.
Lay the second cross-stick on its side along the line of glue dots.
Add a dab of Flex Glue to the ends of each stick.
Flexpert Tip: Hold the middle cross-stick down firmly while adding glue to stop the other sticks from shifting.

Lay the third cross-stick on its side along the line of glue dots.


Add dots of glue to the tops of each cross-stick in line with each of the bottom sticks.
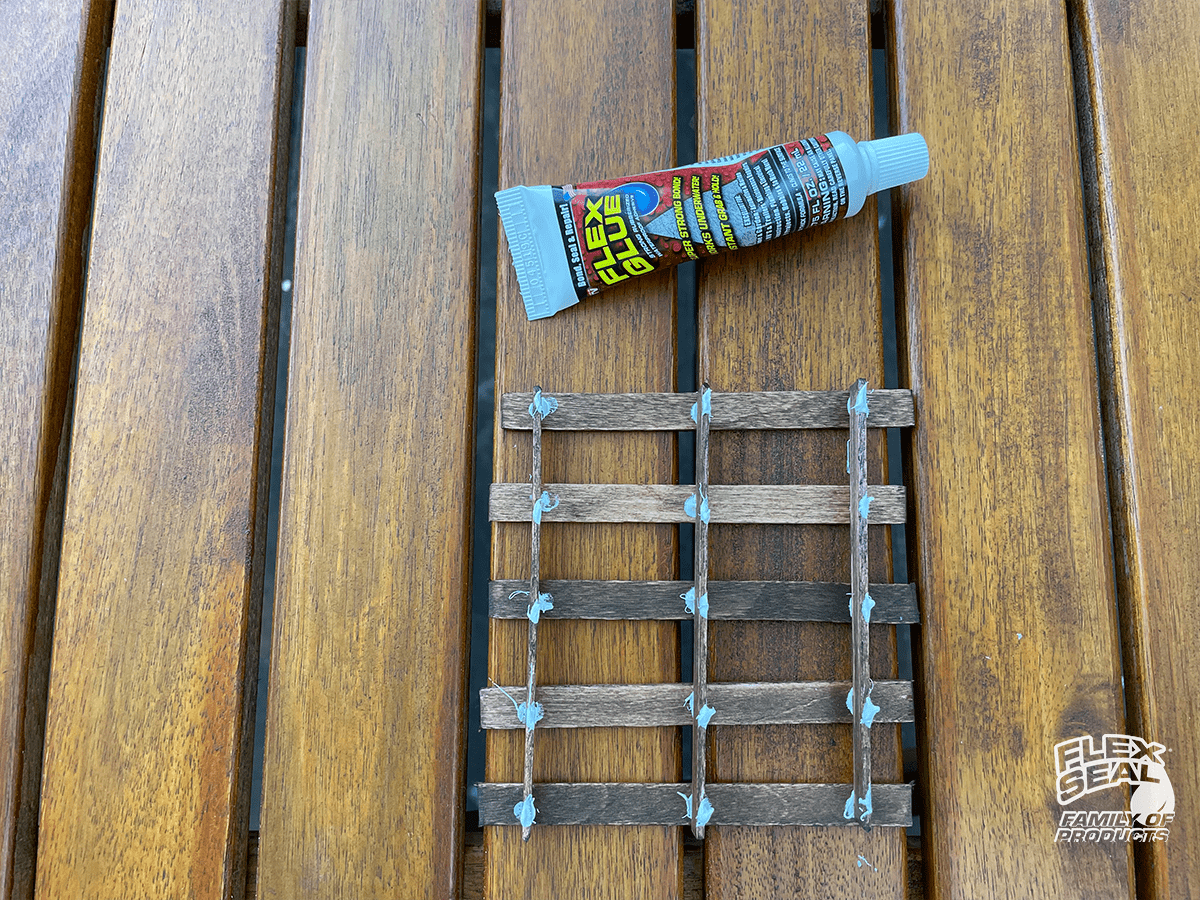
Lay five top sticks in place atop the glue dots.

Allow 24 hours for the Flex Glue to dry. Once dry, dab a little stain over any visible glue areas to blend them in with the wood.

4. Waterproof Coasters With Flex Seal Clear

If you’ve ever wondered how to make waterproof coasters, Flex Seal is the answer. The Flex Seal Clear quickly and easily adds an invisible, waterproof layer to your DIY wood coasters.
Flexpert Tip: Make sure to use Flex Seal in a well-ventilated area. You may also want to put a drop sheet or newspapers down to protect your surface from overspray.
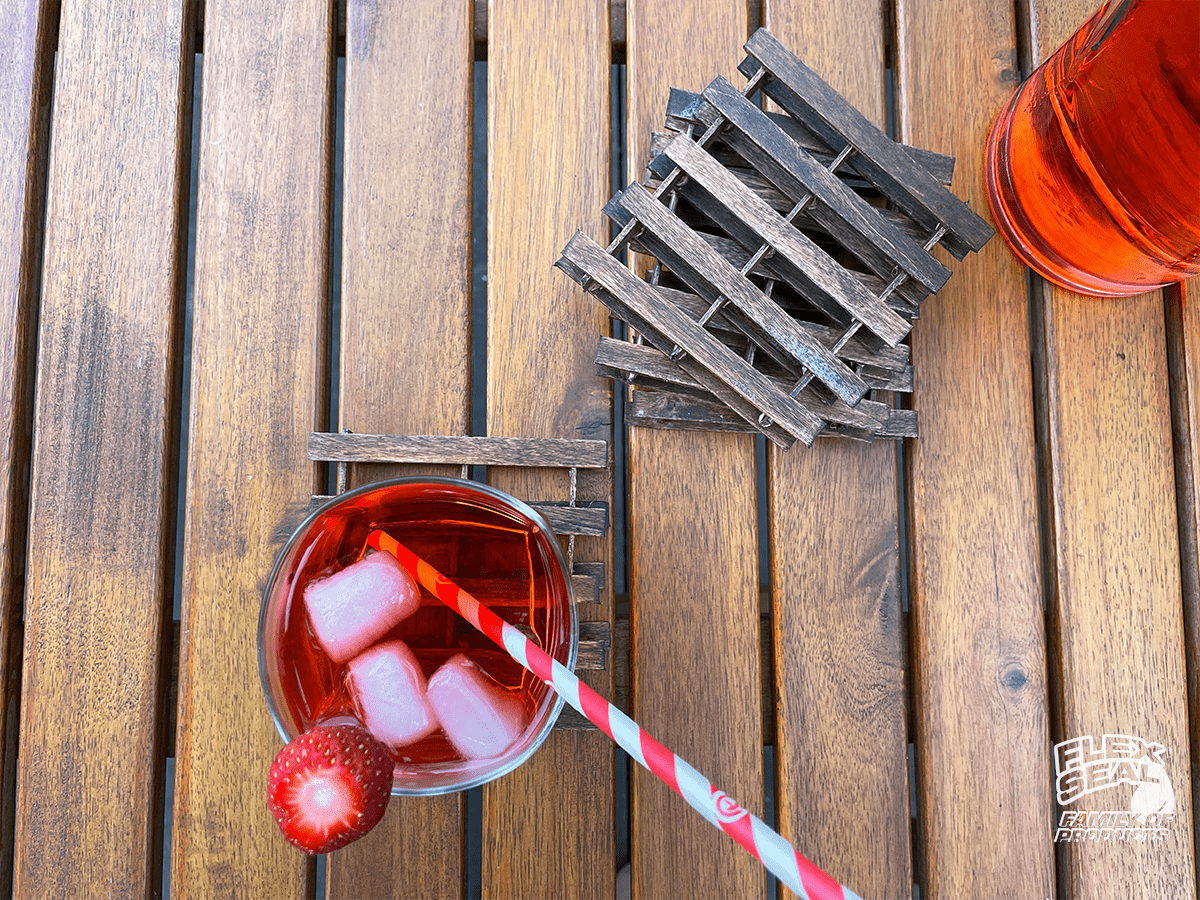
I’m thrilled with how these mini pallet coasters turned out! They are my (and my kids’) favorite coaster of the bunch.
2. DIY Rope Coasters

These DIY rope coasters are perfect for that casual, beachy vibe. I thought these would be the easiest to make, but they were actually the most challenging. I chose to use sisal rope, which was quite difficult to coil. If I make another batch of these rope coasters, I’ll definitely go with a softer, more pliable rope. Trial and error are a big part of DIY-ing!

Materials
● 1 Flex Glue Mini, white
● 1 Flex Seal Mini, clear
● 10m rope
● 4 cork coasters
● Ribbon (optional)
Steps
1. Glue Rope onto Coaster

Put a dot of Flex Glue Mini in the middle of your cork coaster and press the very end of the rope onto the glue.
Flexpert Tip: Try holding the end in place with a pin - I didn’t do this at the time, but I think it would have made the process easier!

Add a circle of Flex Glue around the center and coil the rope on top of the glue. Continue to add circles of Flex Glue and coil the rope on top until you cover the entire coaster.

When the rope lines up with the edge of the cork, cut the rope. You could simply glue the end of the rope down or try adding a piece of ribbon (leather would look great, too) to cover the end.
Add Flex Glue just past the length of the rope.

Stick a piece of ribbon down and add Flex Glue on top.

Stick the rope's end to the ribbon and add Flex Glue to the rope.

Fold the ribbon over and glue the end to the bottom of the cork round. Hold in place with an alligator clip until the glue dries (24-48 hours).

2. Waterproof Coasters With Flex Seal
Seal your DIY rope coasters with a couple of coats of Flex Seal spray in clear. This will add a waterproof layer to the coasters.

These rope coasters certainly have the coastal look I was going for, and I like the finishing touch of the white ribbon.

3. DIY Marble Tile Coasters

Materials
● 1 Flex Glue Mini, white
● 1 Flex Seal Mini, clear
● 1 sheet of mosaic tiles
● 4 cork coasters
Steps
1. Glue Tiles Together
Start by pulling the tiles off their mesh backing.

Next, add Flex Glue Mini to all six sides of one tile and place that tile face down on the table.


Join a second tile by simply pressing the two tile edges together.

Add a line of Flex Glue to one edge of the third tile and join to the first two tiles.
Flexpert Tip: Remember that the original tile already has glue on all edges.

Keep attaching tiles around the center tile, and add Flex glue between any edges that you are joining.


2. Attach Marble to Cork With Flex Glue
Cover a cork coaster with Flex Glue and press it down onto the tiles for about 15-30 seconds to activate Flex Glue’s instant grab.

Flexpert Tip: Remember, the tiles are face down, so you’re gluing the cork to their backs.

3. Seal Coasters With Flex Seal Clear

Once the glue has dried, it’s time to add a waterproof layer of protection to your DIY tile coasters with Flex Seal Clear. Flip the marble coasters over and spray them with 1-2 coats.
Flexpert Tip: Remember to spray Flex Seal in a well-ventilated area. If you apply multiple coats of Flex Seal, allow the first coat to dry before adding additional coats.
These marble coasters are so beautiful, and I love their flower shape. Putting my icy cold glass down on one of these feels very luxurious. They’d make a great housewarming present or host gift too!

All three of these DIY coasters were enjoyable and easy crafts to try. Hopefully, I’ve given you some inspiration and guidance on how to make coasters of your own!
By Kate Hollingsworth
Based in Perth, Australia, I am a self-taught interior specialist with over 20 years of DIY knowledge. I am a Content Creator on IG, where I share tutorials, before and afters, and easy-to-follow stories empowering women to attempt home DIYs.