DIY Flex Shot Spring Face Planters
Spring has sprung! Add personality to any boring pot with the Flex Seal® Family of Products! Create a modern work of linear art using Flex Shot!
Flex Shot Potted Face Materials
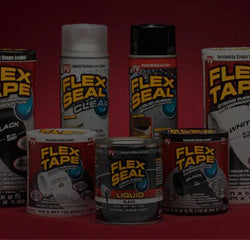
● Flex Shot
● Flex Glue Clear
● Ceramic Pot
● Pencil
● Wooden Doll Pins or Wood Beads
● Rubbing Alcohol
● Lint Free Microfiber Cloth
● Wooden Skewer or Toothpick
● Paint Brush
How To

Clean The Surface Of The Pot
Wipe the surface of the pot with diluted rubbing alcohol on a lint free microfiber cloth. It is important that the surface is free from any dirt or oil for Flex Shot to adhere properly. Wait until the surface is completely dry before moving on to the next step.
Draw Design On The Pot
Lightly sketch a simple face onto the pot. Keep the design simple. Use lines and and simplistic shapes for the best overall outcome. Once happy with the look, lightly wipe and blow off any graphite that might be left on the pot.
Tip: If you’re not too confident with your artistic skills, keep it easy and create a repeating pattern with lines or polka dots!
Uncap And Practice
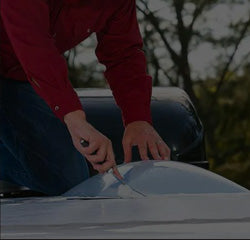
Uncap Flex Shot and unscrew the nozzle attachment. Practice using Flex Shot on a piece of cardstock paper or cardboard to get a feel for how much pressure to use as well as how to achieve the straightest lines before applying to the pot. Hold the can at a 45º angle, place the nozzle on the surface and push it down. The more pressure applied to the nozzle the more Flex Shot will come out.
Trace Design with Flex Shot
Once comfortable with using Flex Shot, begin to trace the design with a steady and even motion. At the end of the line remove pressure from the nozzle and lift slowly away from the pot. A small peak will form at the end of each line, but it is easy to smooth out.

Groom Mustache
Create a big bushy mustache, by filling in the drawn space with Flex Shot, be careful not to add too much or it will be difficult to manipulate. Use an old small paint brush to spread the Flex Shot evenly. Give the mustache some texture by dragging the brush and lifting it up repeatedly.
Tip: If there is too much Flex Shot, remove some carefully with the wooden skewer.
Fix Imperfections
Clean up any imperfections by lightly dragging a wooden skewer or toothpick into the Flex Shot. It is important to do this quickly after Flex Shot is applied, because it will begin to cure and a tacky coating begins to form in about 20 minutes. If there are any areas on the pot that need to be cleaned up, use a little rubbing alcohol and carefully wipe it up while Flex Shot is still wet.
Let Dry
Once Happy with the work of art, place the pot in a well ventilated area and let cure for 24-48 hours.

Add Wooden Base
Turn the pot upside down and unscrew the nozzle of the Flex Glue Clear. Use a pair of scissors or a razor blade to cut an opening large enough to ensure the product can be properly dispensed. Apply a liberal amount of Flex Glue Clear to the bottom of the pot and add three doll pins with the flat side facing up. Apply firm pressure continuously for a minimum of 10-30 seconds for instant grab to take hold.
Tip: Doll pins might be hard to find, use any wooden beads or blocks with a flat side so the pot stays stable.
By Dennis Setteducati and Andrew Boza
HGTV Handmade‘s Crafty Lumberjacks (aka Dennis Setteducati and Andrew Boza) are flannel-loving bloggers and experts in all-things DIY—including holiday decor! They’ve appeared on GMA, LIVE with Kelly & Ryan, The Chew and The Rachael Ray Show and can been seen regularly on the HGTV Handmade YouTube channel getting crafty with their cat.