


How To Seal Ducts and Vents
Our video below will maximize your success when preparing for a flood using the Flex Seal Flood Protection line. Ducts and vents can vary in shape and design, so it is important to seal any area where water may enter.
IMPORTANT
Always follow evacuation orders. Heed all directions from local government and emergency management officials. Watch our introductory video before starting.
Materials
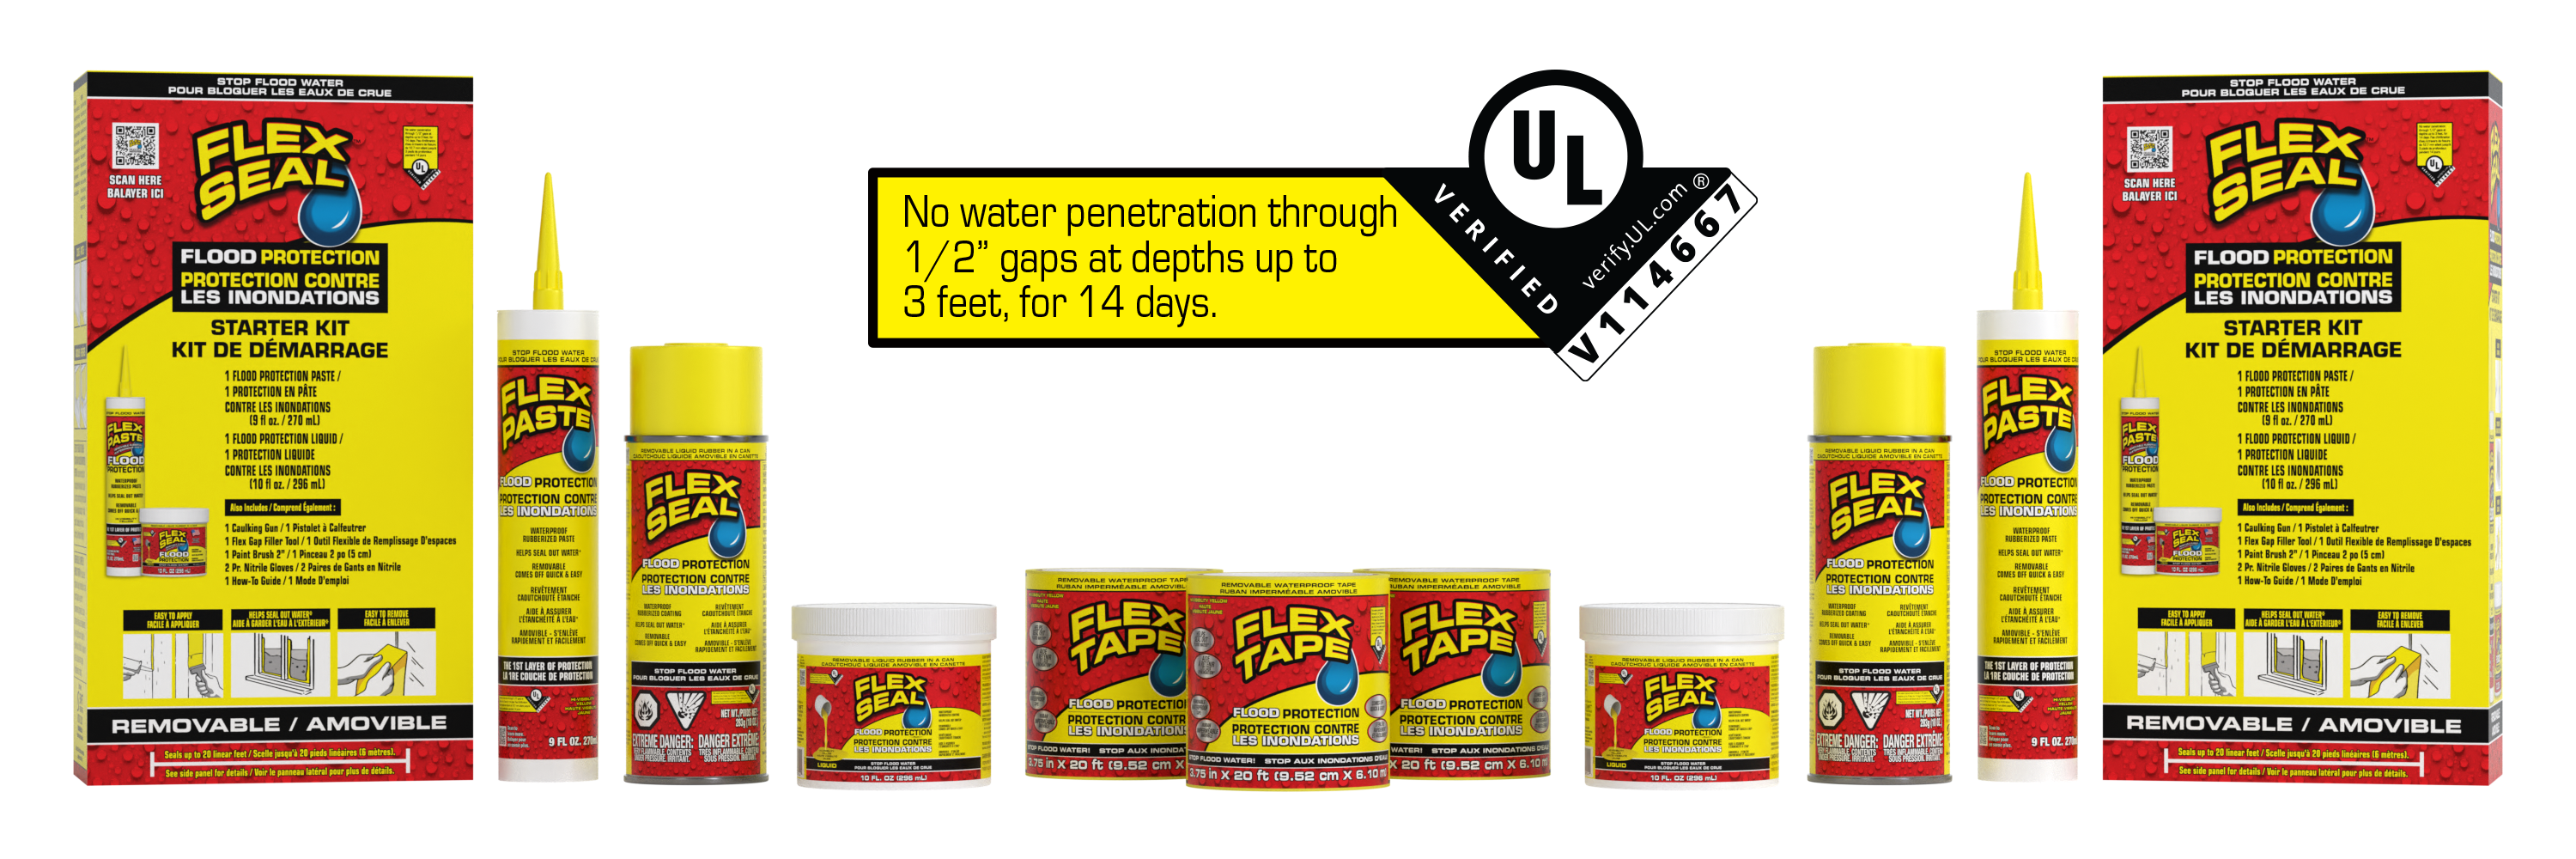
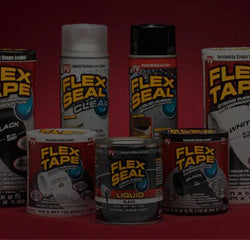
Products Used:
• Flood Protection Paste (Cartridge)
• Flood Protection Tape
• Flood Protection Liquid or Spray
• Flood Protection Paste (Cartridge)
• Flood Protection Tape
• Flood Protection Liquid or Spray
Tools Used:
• Caulk Gun
• Flex Gap Filler Tool
• Paint Brush
• Putty Knife
• Protective Gloves
• Eyewear
• Caulk Gun
• Flex Gap Filler Tool
• Paint Brush
• Putty Knife
• Protective Gloves
• Eyewear
IMPORTANT
Flood Paste in a Cartridge is the base coat for your first layer of protection. Use a gloved finger, Flex Gap Filler tool, or similar tool to push into all seams and openings to help create a watertight seal. Always be cautious of any sharp objects that may cause injury.
Apply Tape
When sealing a vent or duct, it’s important NOT to use any appliance or fixture that leads to the vent or duct being sealed. For example, don’t use your dryer while, or after you sealed your dryer vent.
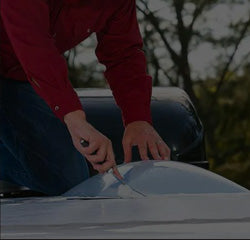
Unroll the flood tape and cut a piece a little larger than the size of the opening that you're trying to cover. Remove the flood tape backing and apply it directly to the vent opening. Using your gloved fingers or other tool, press firmly to smooth out any air pockets, creases or wrinkles.
Depending on the size of the vent, additional flood tape may be needed to completely cover the opening.
Apply Paste
Apply our flood paste in a cartridge directly over the flood tape and all around the edges. You'll also want to apply our flood paste directly where the vent or duct meets the exterior wall and cover the entire opening.
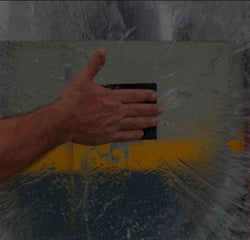
Use your gloved finger, Flex Gap Filler or similar tool to smooth out the flood paste and push it in to all openings where water may enter. If you still see any gaps or openings, apply more flood paste to that area.
Use your gloved finger, Flex Gap Filler or similar tool to smooth out the flood paste and push it in to all openings where water may enter. If you still see any gaps or openings, apply more flood paste to that area.
Additional Layers
If you applied Flood Protection Paste in thin, even layers, you should expect it to be dry to the touch in two to six hours. Next, we recommend applying additional coats of our Flood Protection Paste as needed.
Follow the same application process as the first layer, but each individual coat that you apply should be wider and overlap the previous layer of Flood Protection Paste and Tape.
Once the vents have been sealed and are completely dry, and you already have multiple layers of Flood Protection Paste, we recommend using our Flood Protection Spray or Flood Protection Liquid as an additional layer of protection.
If using the Flood Spray, apply a light coat using an even sweeping motion from 8” to 12” from the surface. If using the Flood Liquid, brush a generous amount over the entire area. Be sure you’re covering the opening and the area where the vent duct meets the wall. Using the Flood Spray or Flood Liquid will help seal any small openings or pinholes that may have been missed.
Remember you want to make sure all the flood protection products are fully cured before a flood arrives.
For additional help, click on one of our how-to options below, or call us at:
833-4-A-FLOOD (833-423-5663).
Get Flood Protection Now
 Buy Now
We’re proud to say that when used in combination, and as directed, our Flood Protection
Products have been independently verified by UL Solutions to hold back 3ft of water for 14 days on gaps up to ½ inch.
Tested in laboratory settings.
WATCH STEP BY STEP VIDEO INSTRUCTIONS BELOW
Use the buttons below to download a PDF version of these instructions, or use our coverage calculator to quickly estimate how much of each Flood Protection Product you will need for your structure.
Contact Us
Flood Protection Products Support
Our dedicated Flood Protection Product support is here when you need it. Whether you have questions about our products, or need help ordering, our experts are ready to help.
You can also watch our informative series of step-by-step videos by visiting flexseal.ca/flood.
You can also watch our informative series of step-by-step videos by visiting flexseal.ca/flood.
Phone:
833-4-A-FLOOD
(833-423-5663)
(833-423-5663)
Or use the form below to send us an email.


- Choosing a selection results in a full page refresh.